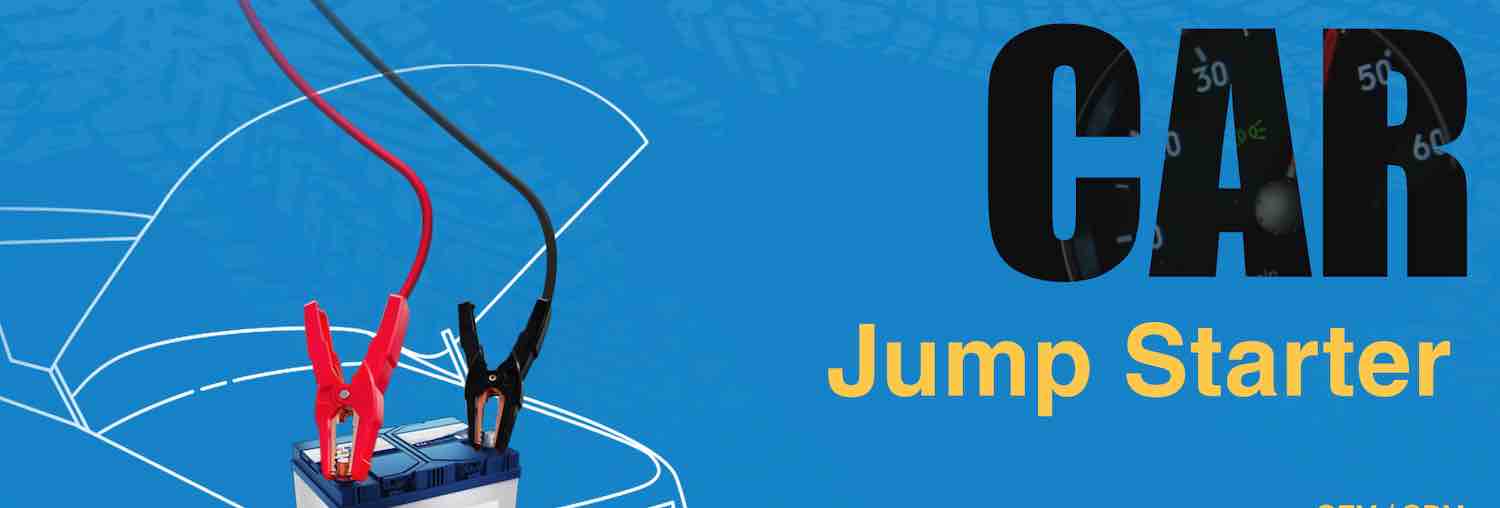
How to Use a Car Jump Starter Safely: A Step-by-Step Guide
The advent of portable car jump starters has significantly eased the dread of vehicle battery failures, transforming a potential crisis into a manageable inconvenience. Yet, with the convenience of having such a powerful tool at your disposal comes the responsibility of using it correctly. Understanding how to operate a car jump starter safely is crucial for the longevity of the device and to ensure your safety and that of your vehicle. This guide aims to provide a comprehensive overview of safely using a car jump starter, from preparation to execution.
Preparing to Use Your Jump Starter
Understanding Your Jump Starter:
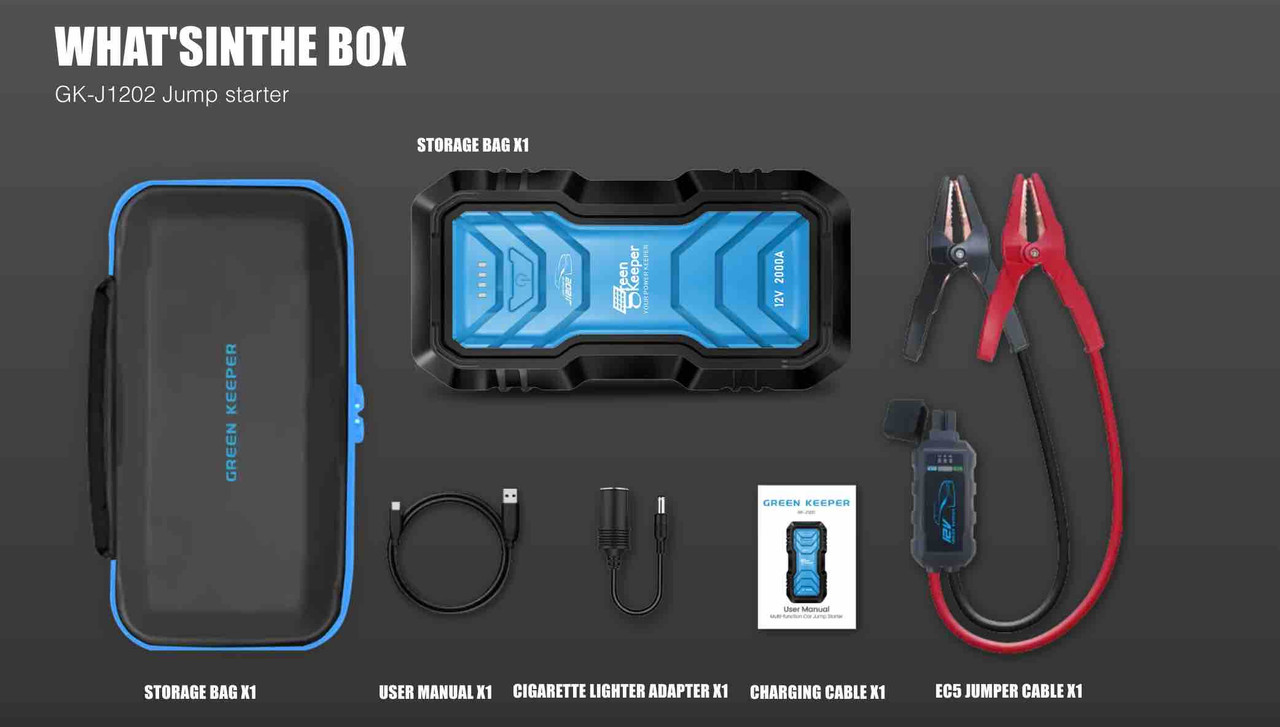
Car jump starters come in various types, primarily distinguished by their power output and additional functionalities. Some are designed solely for jump-starting, while others include features like USB ports for charging devices, air compressors, and emergency lights. Familiarizing yourself with your specific model is the first step toward safe usage.
Safety ChecksBefore employing your jump starter, inspect for any signs of damage, such as frayed wires, cracked casing, or leaking batteries. Ensure the device is fully charged and that all safety features, like overcharge protection and reverse polarity alerts, are functional. These preliminary checks are vital to prevent accidents during use.
Step-by-Step Guide to Using a Car Jump Starter
Safety First:
- Personal Safety Gear Recommendations: Personal protection is paramount when handling electrical devices. Wear insulated gloves and protective eyewear to safeguard against accidental sparks or battery acid exposure.
- Preparation: Before making any connections, confirm that both the car and the jump starter are turned off. This precaution minimizes the risk of electrical shorts and sparks.
Connecting the Jump Starter:
- Identify Terminals: Locate your vehicle's positive (usually red) and negative (black) battery terminals. Similarly, identify the corresponding clamps on your jump starter.
- Correct Order of Connection: Connect the positive clamp to the positive battery terminal first, followed by the negative clamp to a grounding point on the vehicle's frame, away from the battery and fuel lines. This sequence helps in preventing sparks that could ignite flammable gases possibly emitted by the battery.
Initiating the Jump Start:
- Powering On: With the clamps securely in place, turn on the jump starter. Wait a moment before attempting to start your vehicle to allow the battery to receive some charge.
- Starting the Vehicle: Attempt to start your vehicle. If it doesn't start immediately, wait a few minutes before trying again to give the battery time to charge further. Avoid continuous cranking as it can harm both the vehicle's starter motor and the jump starter.
Correctly preparing and connecting your jump starter is crucial for a safe and successful jump-starting process. Stay tuned for detailed guidance on what to do after jump-starting your vehicle and maintenance tips to keep your jump starter in optimal condition.
After the Jump Start:
Once your vehicle is running, it is essential to follow the correct steps to disconnect the jump starter and ensure your car’s battery recharges properly.
- Safely Disconnecting the Jump Starter: Turn off the jump starter (if it has an on/off switch) before disconnecting the clamps. Remove the negative clamp from the grounding point on your vehicle first, followed by the positive clamp from the battery terminal. This order helps prevent sparking.
- Recharging the Battery: After successfully jump-starting, let your vehicle's engine run for at least 20 to 30 minutes before turning it off. This running period allows the alternator to recharge the battery. For a complete charge, consider driving your vehicle on the highway for a while or using a dedicated battery charger when you're back home.
Do's and Don'ts When Using a Jump Starter
To ensure both your safety and the longevity of your jump starter and vehicle battery, keep these do's and don'ts in mind:
- Do:
- Read the manual of your jump starter thoroughly before use.
- Check that both the jump starter and the vehicle are off before connecting or disconnecting.
- Wear safety gear, like gloves and goggles, during the process.
- Don't:
- Connect both clamps to the battery terminals. The negative should go to a ground point on the vehicle.
- Try to jump-start a damaged or leaking battery.
- Leave the jump starter connected to the vehicle for an extended period after the engine starts.
Detailed Comparison of Jump Starter Types
Jump starters come in a variety of types, each with its own advantages and disadvantages. The most common types are lithium-ion and lead-acid.
Lithium-ion jump starters are smaller, lighter, and more compact than lead-acid models, making them highly portable. They also tend to hold a charge longer and can deliver more power. However, they can be more expensive.
Lead-acid jump starters are the traditional type and are generally more affordable. They are typically larger and heavier than lithium-ion models, but they can still be effective for jump starting most vehicles. However, they may require more frequent charging and have a shorter lifespan.
Other types of jump starters include jump starter power packs, which combine a jump starter with a portable power bank for charging devices, and battery booster packs, which are designed for larger vehicles like trucks and SUVs. When choosing a jump starter, consider factors like the size and type of your vehicle, your budget, and your needs for portability and additional features.
Jump Starting a Motorcycle:
While the general principles of jump-starting apply to motorcycles, there are a few key differences to keep in mind:
- Battery Location: Motorcycle batteries are often located in different places than car batteries (e.g., under the seat, in a side compartment). Consult your owner's manual to locate your motorcycle's battery.
- Grounding Point: Choose a clean, unpainted metal surface on the motorcycle's frame as a grounding point. Avoid connecting the negative clamp directly to the battery.
- Lower Capacity: Motorcycle batteries typically have a lower capacity than car batteries. A smaller jump starter may be sufficient.
- Safety First: Always exercise caution when working with electrical components on a motorcycle. Wear protective gear and consult your owner's manual for specific instructions.
Clarification on Grounding Points:
"When connecting the negative (black) clamp, DO NOT connect it directly to the negative terminal of the dead battery. Instead, choose a suitable grounding point on the vehicle's frame. This helps prevent sparks that could ignite flammable gases.
Good grounding points include:
- Unpainted metal parts of the chassis or frame
- The engine block
- Designated grounding bolts (check your owner's manual)"
Dealing with Corroded Battery Terminals:
Corroded Battery Terminals
If your battery terminals are corroded, it's important to clean them before attempting to jump-start your vehicle. Corrosion can hinder the flow of electricity and make the jump-start less effective.
Here's how to clean corroded terminals:
- Safety First: Wear gloves and eye protection.
- Disconnect the battery: Always disconnect the negative terminal first, then the positive.
- Prepare a cleaning solution: Mix baking soda and water to create a paste, or use a specialized battery terminal cleaner.
- Apply the solution: Apply the paste or cleaner to the corroded terminals and let it sit for a few minutes.
- Scrub the terminals: Use a wire brush or a battery terminal cleaning tool to remove the corrosion.
- Rinse and dry the terminals with clean water and dry them thoroughly with a cloth.
- Reconnect the battery: Reconnect the positive terminal first, then the negative."
Vehicle-Specific Jump-Starting Procedures:
Important Note: Some modern vehicles, particularly those with sophisticated electronics, may have specific jump-start procedures. Always consult your vehicle's owner's manual before attempting a jump-start.
For example, some BMWs and late-model Ford vehicles have designated jump starting points. Hybrid cars may also have unique requirements. Failure to follow the correct procedures could damage sensitive electronics.
Troubleshooting Common Issues
Even with the proper preparation and steps, you might need help with issues. Here are quick fixes for common problems:
- If the Vehicle Doesn't Start, Ensure the clamps have a solid connection and the jump starter has enough charge. Also, check for any safety features that might have been triggered by the jump starter.
- Jump Starter Doesn’t Power On: Verify that the jump starter is charged. If it still doesn't power on, check for any physical damage or defects that could be causing the issue.
Maintaining Your Jump Starter
Proper maintenance extends the life of your jump starter and ensures it’s ready when you need it:
- Regular Charging: Keep your jump starter charged according to the manufacturer's recommendation, typically after each use and every few months during storage.
- Storage: Store your jump starter in a dry, moderate-temperature environment to protect its battery lifespan and casing integrity.

Understanding how to safely disconnect your jump starter and maintain it for future use is as critical as knowing how to use it. By adhering to these guidelines, you ensure your device's reliability and your vehicle's safety during emergencies.
Advanced Tips for Experienced Users
For those who are already familiar with the basics of using a jump starter, these advanced tips can help you maximize efficiency and safety:
- Monitoring Battery Health: Use a battery health monitor with your jump starter to monitor your vehicle's battery condition. This can alert you to potential issues before they lead to a breakdown.
- Periodic Testing: Regularly test your jump starter to ensure it's in working order, even if you last used it a while ago. This can prevent surprises when you least want them.
- Understanding Vehicle Requirements: Some modern vehicles with sophisticated electronics require a specific sequence to jump-start safely. Refer to your vehicle’s manual to ensure compatibility and avoid damaging sensitive electronics.
Conclusion
Utilizing a car jump starter safely requires more than a basic understanding of its operation. It demands a comprehensive approach that includes proper preparation, adherence to safety protocols, and regular maintenance. By following this step-by-step guide, you can ensure that you’re using your jump starter in the safest way possible, preventing damage to your vehicle and extending the life of the jump starter itself. Always remember, safety first, both for you and your car.
Frequently Asked Questions (FAQs)
1. Can I use a car jump starter on an electric vehicle (EV)?
It's not recommended to use a traditional jump starter on an EV. EVs don't have a traditional 12V battery for starting the engine but a high-voltage battery pack for propulsion. Always refer to the EV's manufacturer guidelines for emergency procedures.
2. How long will a jump starter hold its charge?
A fully charged jump starter can hold its charge for several months, but checking and recharging every 3-6 months is recommended to ensure readiness.
3. Can a jump starter freeze in cold weather?
Extreme cold can affect the performance of a jump starter. While it won't freeze solid like water, its ability to discharge efficiently can diminish. Store it in a cool, dry place and keep it charged for optimal performance.
4. How often can I use a jump starter before recharging it?
It depends on the capacity of the jump starter and the condition of your vehicle's battery. Typically, a fully charged unit can provide several jump starts, but recharging it after each use is best to maintain maximum capacity.
5. Is it safe to leave a jump starter in my car?
Yes, but avoid extreme temperatures. Most jump starters are designed for portability and durability, but prolonged exposure to high or low temperatures can affect battery efficiency and lifespan.
Call to Action
For those looking to equip themselves with a high-quality, reliable jump starter, Tend Industrial Supplies offers a selection of top-tier options suited for various vehicle needs. Whether you're a seasoned user looking for advanced features or someone seeking essential reliability, we have the right tool. Visit us atTendSupplies.com or sales@tendsupplies.com for expert advice and the perfect addition to your vehicle emergency kit. Stay prepared and safe with a trusted jump starter from Tend Industrial Supplies.


