DIY vs. Professional: When to Use Pneumatic Tools for Home Projects
Pneumatic tools have revolutionized the way we approach various projects in home improvement projects. These air-powered marvels offer efficiency, power, and precision that traditional hand tools often can't match. However, the question remains: when should you tackle a project yourself with pneumatic tools, and when is it best to call in the professionals? This comprehensive guide will help you navigate the decision-making process, ensuring you make the right choice for your home projects.
Key Takeaway
The key takeaway from this article is that while pneumatic tools can significantly enhance DIY capabilities, the decision to use them for home projects should be based on several factors including skill level, project complexity, safety considerations, and cost-effectiveness. For simple to moderate tasks, DIY with pneumatic tools can be rewarding and cost-effective. However, for complex, large-scale, or potentially dangerous projects, professional expertise is often the safer and more efficient choice.
Understanding Pneumatic Tools
Before diving into the DIY vs. professional debate, it's crucial to understand what pneumatic tools are and how they work:
What Are Pneumatic Tools?
Pneumatic tools, also known as air tools, are powered by compressed air. They convert the energy stored in pressurized air into mechanical work, driving various tools such as nail guns, sanders, drills, and impact wrenches.
How Do Pneumatic Tools Work?
- An air compressor pressurizes air and stores it in a tank.
- When activated, the tool releases this compressed air through a valve.
- The air pressure drives the tool's mechanism, powering its action.
Advantages of Pneumatic Tools
- High power-to-weight ratio
- Consistent performance
- Lower maintenance compared to electric tools
- No risk of electric shock
- Can be used in wet conditions
Common Pneumatic Tools for Home Projects
- Nail Guns
- Brad Nailers
- Staple Guns
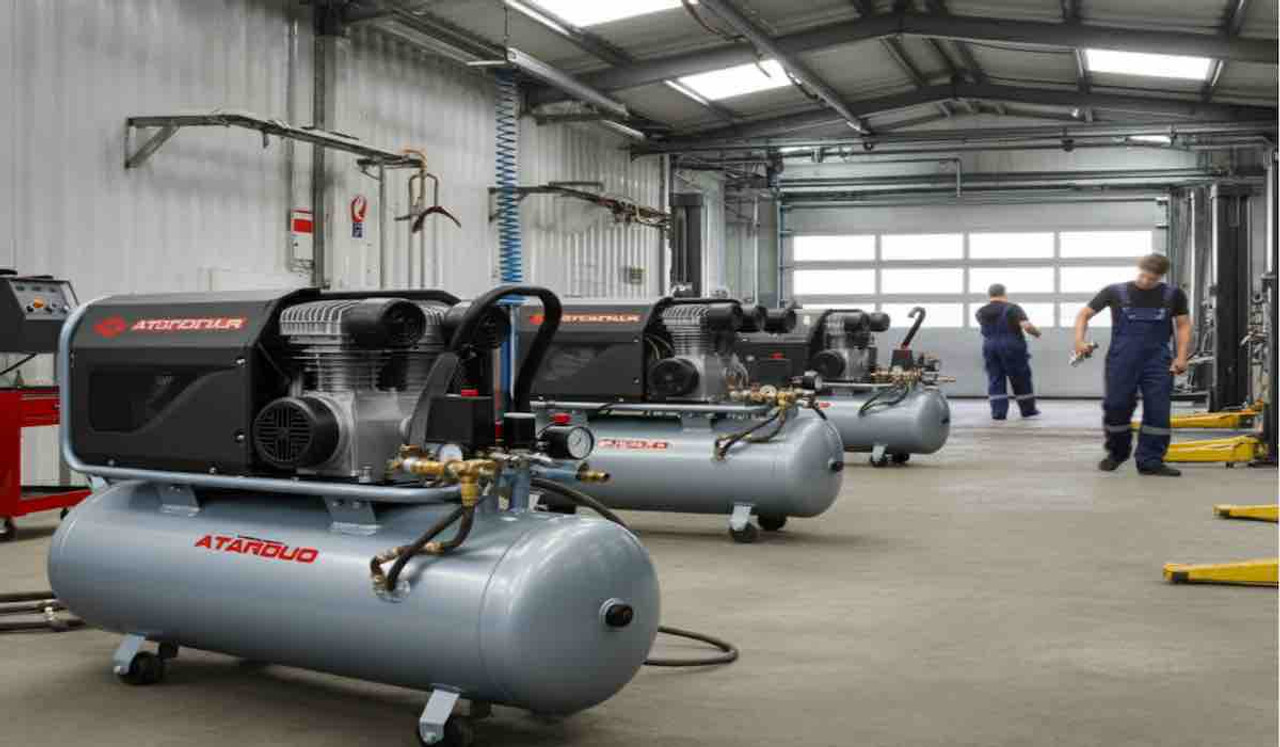
- Air Compressors
- Spray Painters
- Sanders
- Drills
- Impact Wrenches
DIY with Pneumatic Tools: Pros and Cons
Pros of DIY with Pneumatic Tools
- Cost Savings: Avoiding labor costs can significantly reduce project expenses.
- Flexibility: Work on your own schedule and pace.
- Skill Development: Learn new techniques and improve your home improvement abilities.
- Satisfaction: The pride of completing a project yourself.
- Customization: Tailor the project exactly to your preferences.
Cons of DIY with Pneumatic Tools
- Learning Curve: Proper use of pneumatic tools requires practice and knowledge.
- Safety Risks: Improper use can lead to injuries.
- Quality Concerns: Without proper skills, the end result may not meet professional standards.
- Time Investment: DIY projects often take longer than professional work.
- Tool Investment: Purchasing quality pneumatic tools can be expensive.
When to Choose DIY with Pneumatic Tools
Consider tackling a project yourself with pneumatic tools when:
- The project is within your skill level: Start with simpler tasks and gradually take on more complex projects as you gain experience.
- You have the time: Ensure you can dedicate enough time to complete the project without rushing.
- Safety risks are minimal: Avoid DIY for projects involving structural changes, electrical work, or other potentially dangerous tasks.
- Cost savings are significant: Calculate the cost of tools and materials versus professional services.
- You have the necessary space and setup: Pneumatic tools require an air compressor and proper workspace.
DIY-Friendly Pneumatic Tool Projects
- Installing trim and molding
- Building furniture
- Fence repairs
- Deck construction
- Minor roofing repairs
- Cabinet installation
- Hardwood flooring installation
When to Hire a Professional
Opt for professional services when:
- The project requires specialized skills: Complex tasks like HVAC installation or major electrical work.
- Safety is a significant concern: Projects involving structural changes, high-risk areas, or hazardous materials.
- Permits are required: Professionals are familiar with local building codes and permit processes.
- The project is large-scale: Major renovations or whole-house projects often benefit from professional coordination.
- Time is a critical factor: Professionals can often complete projects more quickly and efficiently.
- Warranty and insurance are important: Professional work often comes with guarantees and insurance coverage.
Projects Best Left to Professionals
- Major structural changes
- Electrical system upgrades
- Plumbing system overhauls
- Large-scale roofing projects
- HVAC installation or major repairs
- Foundation work
- Large-scale siding installation
Factors to Consider When Deciding Between DIY and Professional
- Skill Level: Honestly assess your abilities and experience with pneumatic tools.
- Project Complexity: Evaluate the difficulty and intricacy of the task at hand.
- Time Availability: Consider your schedule and how long the project might take.
- Budget: Compare the costs of DIY (including tool purchases) versus professional services.
- Safety Risks: Assess potential dangers and your comfort level with the task.
- Legal Requirements: Check if the project requires permits or licensed professionals.
- Long-term Impact: Consider how the quality of work might affect your home's value.
Tips for Successful DIY with Pneumatic Tools
If you decide to take on a project yourself, follow these tips:
- Invest in Quality Tools: Choose reliable pneumatic tools and a good air compressor.
- Learn Proper Techniques: Watch tutorials, read manuals, and practice on scrap materials.
- Prioritize Safety: Always use proper safety gear, including eye and ear protection.
- Maintain Your Tools: Regularly clean and service your pneumatic tools and compressor.
- Start Small: Begin with smaller projects to build confidence and skills.
- Know Your Limits: Don't hesitate to call a professional if you encounter difficulties.
Cost Comparison: DIY vs. Professional
To help you make an informed decision, here's a general cost comparison for a few common projects:
| Project | DIY Cost* | Professional Cost** |
| Fence Installation (100 ft) | $1,500 - $2,500 | $2,500 - $4,500 |
| Deck Construction (200 sq ft) | $3,000 - $5,000 | $7,000 - $12,000 |
| Hardwood Flooring (500 sq ft) | $2,500 - $4,000 | $4,000 - $7,000 |
| Crown Molding (1,000 linear ft) | $800 - $1,500 | $2,000 - $3,500 |
*DIY costs include materials and tool rental/purchase. **Professional costs include labor and materials.
Note: These are rough estimates and can vary based on location, materials, and specific project details.
Frequently Asked Questions (FAQs)
Q: Do I need special training to use pneumatic tools for DIY projects?
A: While formal training isn't always necessary, it's crucial to thoroughly read the user manuals, watch instructional videos, and practice on scrap materials before starting your project. Many home improvement stores offer workshops on using pneumatic tools safely and effectively.
Q: How do I know if a project is too complex for DIY with pneumatic tools?
A: If the project involves structural changes, complex systems (like plumbing or electrical), or requires permits, it's likely best left to professionals. Also, if you're unsure about safety procedures or feel uncomfortable with any aspect of the project, it's wise to consult a professional.
Q: Can using pneumatic tools for DIY projects save me money in the long run?
A: For frequent DIYers, investing in pneumatic tools can lead to significant savings over time. However, for one-off projects, renting tools or hiring a professional might be more cost-effective. Calculate the costs of purchasing tools versus hiring a professional for each specific project.
Q: What safety precautions should I take when using pneumatic tools?
A: Always wear safety glasses and ear protection. Ensure your work area is well-ventilated and clear of obstacles. Never point pneumatic tools at yourself or others, even when not in use. Regularly inspect tools and air hoses for damage. Disconnect tools from the air supply when not in use.
Q: How do I maintain my pneumatic tools to ensure they last?
A: Regular maintenance is key. Clean tools after each use, lubricate moving parts as recommended by the manufacturer, check and replace air filters regularly, and drain moisture from the air compressor tank. Store tools in a dry place and inspect them regularly for signs of wear or damage.
Related Articles
To further expand your knowledge on pneumatic tools and related topics, check out these informative articles:
- Understanding the Right Size of Air Compressor for Your Pneumatic Air Tools in 2024 This article provides insights into choosing the correct air compressor size for your pneumatic tools, essential for both DIY and professional use.
- The Ultimate Guide to Pneumatic Air Tools: Everything You Need to Know A comprehensive overview of pneumatic tools, their uses, and benefits for various projects.
- Maintenance Tips: Ensuring the Longevity of Your Air Tools Learn how to properly maintain your pneumatic tools to ensure they last longer and perform better.
- The Importance of Safety When Using Pneumatic Air Tools This article covers crucial safety measures and best practices for using pneumatic tools, essential for DIY enthusiasts.
- Professional vs. DIY Air Tools: A Comparative Analysis An in-depth comparison of professional-grade and DIY-oriented pneumatic tools, helping you understand the differences and make informed choices.
Conclusion
The decision to use pneumatic tools for DIY projects versus hiring a professional depends on various factors including skill level, project complexity, safety considerations, and cost-effectiveness. While pneumatic tools can significantly enhance your DIY capabilities, it's crucial to honestly assess each project's requirements and your own abilities. For simple to moderate tasks, DIY with pneumatic tools can be rewarding and cost-effective. However, for complex, large-scale, or potentially dangerous projects, professional expertise is often the safer and more efficient choice.
Remember, the goal is not just to complete the project, but to do so safely and with quality results that add value to your home. Whether you choose the DIY route or opt for professional services, proper planning and understanding of the tools and techniques involved are key to successful home improvement projects.
Call to Action
Ready to tackle your next home improvement project with pneumatic tools? Or perhaps you're considering professional services for a complex task? Tend Industrial Supplies offers a wide range of high-quality pneumatic tools and expert advice to suit every need, whether you're a DIY enthusiast or a professional contractor.
Visit tendsupplies.com to explore our selection of pneumatic tools, air compressors, and accessories. Our knowledgeable team is always available to help you choose the right tools for your project and provide guidance on their proper use.
For personalized assistance or to inquire about professional services, don't hesitate to reach out to us at sales@tendsupplies.com. Let Tend Industrial Supplies be your partner in successful home improvement projects, whether you're doing it yourself or seeking professional help!


