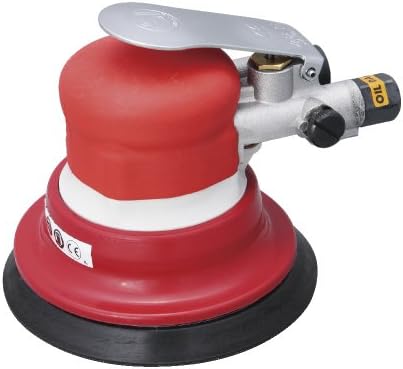
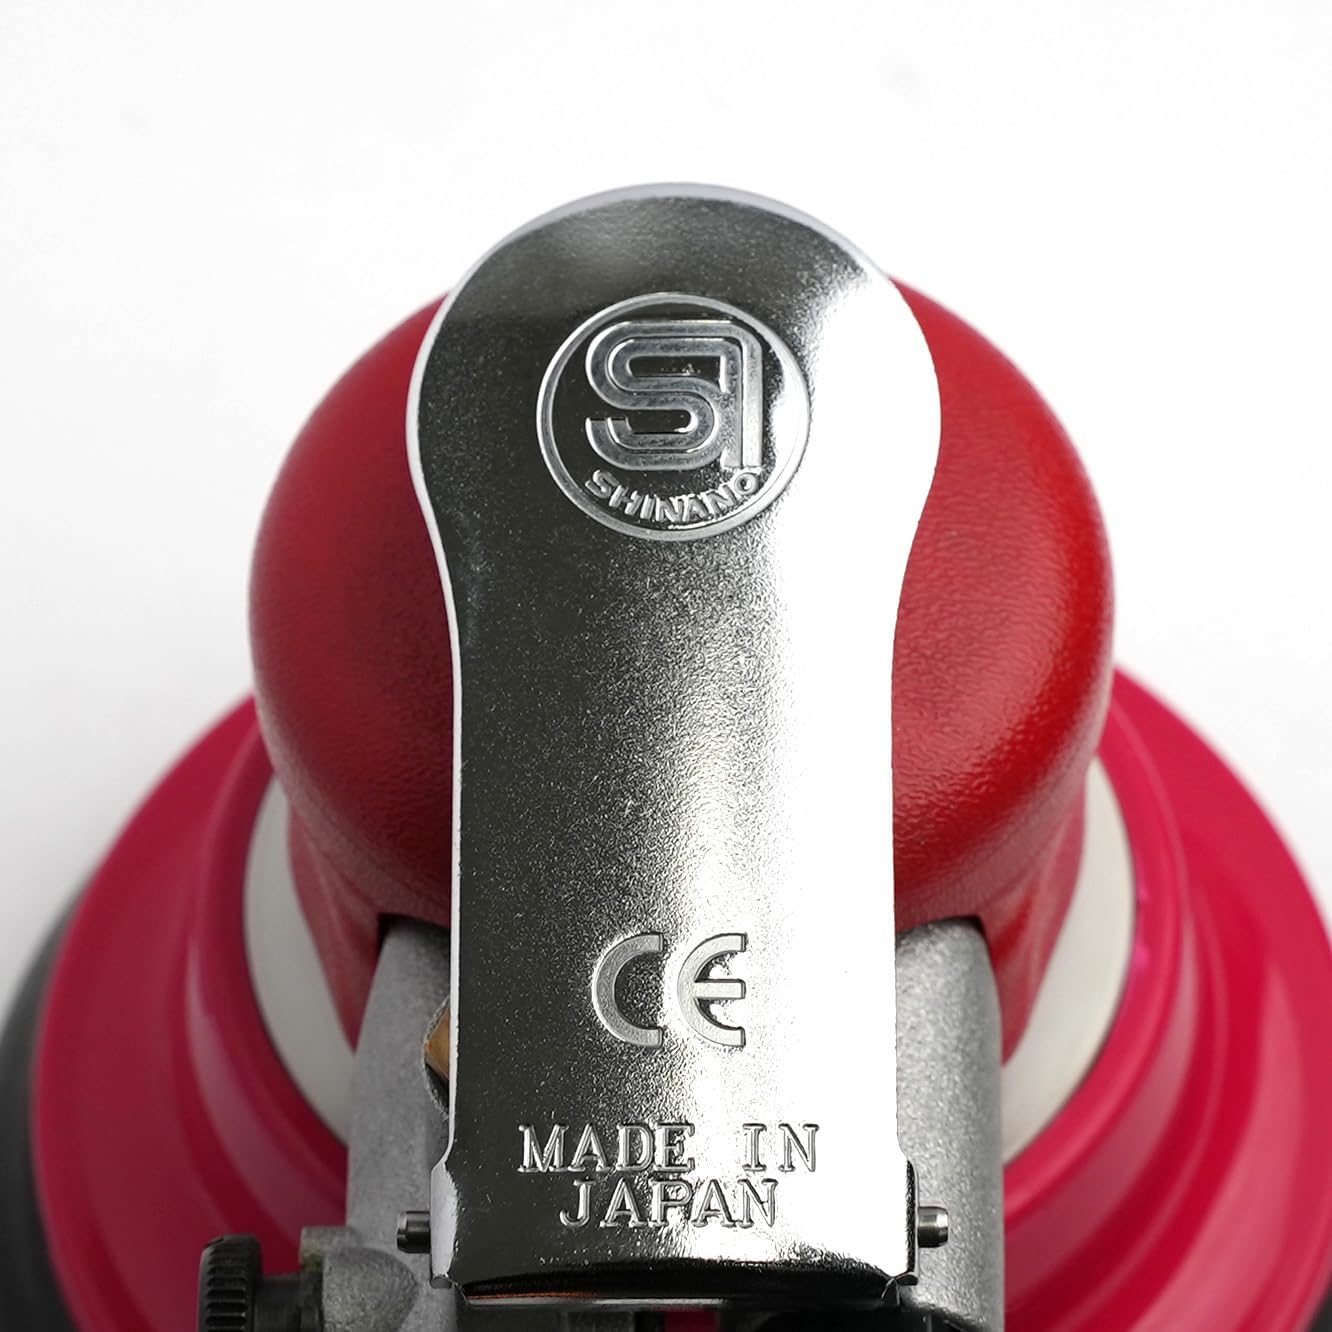
How to Use the Shinano SI-3101M Air Palm Sander for a Flawless Finish
The Shinano SI-3101M Air Palm Sander is a powerful and versatile tool that can help you achieve professional-quality finishes on various surfaces. Whether you're working on a woodworking project, preparing a car panel for paint, or smoothing out metal surfaces, mastering this air sander can significantly improve your results. This comprehensive guide will walk you through the steps to use the Shinano SI-3101M effectively, from setup to final touches.
Key Takeaways
- Proper setup, including air compressor settings and dust collection, is crucial for the Shinano SI-3101M's optimal performance.
- Selecting the right sandpaper grit and progressing through grits is key to achieving a smooth finish.
- Maintain constant motion and use appropriate pressure when sanding to avoid uneven results.
- Regular maintenance, including cleaning and lubrication, will extend the life of your sander and ensure consistent performance.
- Advanced techniques like cross-grain sanding and sanding sealers can help achieve professional-quality finishes.
Setting Up Your Shinano SI-3101M
Before you start sanding, setting up your tool correctly is crucial. Here's how to get your Shinano SI-3101M ready for action:
- Air Compressor Setup:
- Ensure your air compressor can deliver at least 0.33 m³/min (11.7 CFM) at 90 PSI.
- Check that your air hose is in good condition and properly connected to both the compressor and the sander.
- Dust Collection:
- If using a dust collection system, connect the vacuum hose to the sander's dust port.
- Make sure the connection is secure to prevent dust from escaping during operation.
- Selecting Sandpaper:
- Choose the appropriate grit sandpaper for your task (more on this in the next section).
- Attach the sandpaper to the 5-inch (125mm) pad, ensuring it's centered and securely fastened.
- Personal Protective Equipment (PPE):
- Wear safety glasses to protect your eyes from dust and debris.
- Use hearing protection, as air tools can be loud during operation.
- Wear a dust mask to prevent inhalation of fine particles.
- Consider wearing work gloves for better grip and hand protection.
- Workspace Preparation:
- Ensure your workspace is well-ventilated.
- Secure your workpiece to prevent movement during sanding.
- Clear the area of any obstacles that might interfere with your movement.
Selecting the Right Sandpaper Grit
Choosing the correct sandpaper grit is crucial for achieving the desired finish. Here's a general guide:
- Coarse Grits (40-80): These are used for heavy material removal, such as stripping old finishes or leveling uneven surfaces.
- Medium Grits (100-150): Ideal for general sanding and removing minor imperfections.
- Fine Grits (180-220): Use for final smoothing before or between finish coats.
- Very Fine Grits (320 and above): For ultra-smooth finishes or polishing.
Remember, it's usually best to progress through the grits, starting with a coarser grit and moving to finer grits for the best results.
Buy this product in Amazon
Affiliate Caveat: As an affiliate, I may earn a commission from qualifying purchases made through links to these products if provided. This comes at no additional cost to you and helps support the creation of valuable content like this. I only recommend products that the Tend Industrial Supplies teams have evaluated and believe offer significant value.
Proper Sanding Techniques
Now that you're set up and have selected the right sandpaper let's dive into the techniques for using the Shinano SI-3101M effectively:
- Starting the Sander:
- Hold the sander firmly with both hands.
- Place the sander on the work surface before starting it to avoid gouging.
- Squeeze the trigger gently to start the sander, allowing it to reach full speed before making contact with the surface.
- Maintaining Proper Pressure:
- Let the tool's weight do most of the work. Avoid applying excessive downward pressure, as this can lead to uneven sanding and premature wear of the sandpaper.
- Use light to moderate pressure, depending on the material and the grit of sandpaper you're using.
- Movement Patterns:
- Move the sander in overlapping patterns to ensure even coverage.
- For flat surfaces, use straight, parallel strokes, moving the sander toward the wood grain (for wood surfaces).
- For curved or contoured surfaces, use circular or figure-eight motions to follow the shape of the workpiece.
- Maintaining Constant Motion:
- Keep the sander moving at all times when in contact with the surface.
- Lingering in one spot can create divots or uneven areas.
- Edge Work:
- Be cautious when sanding near edges to avoid rounding them off (unless that's your intention).
- Tilt the sander slightly when working on edges to maintain a crisp edge.
- Checking Your Progress:
- Regularly stop and check your work.
- Feel the surface with your hand to detect any rough spots or unevenness.
- Use good lighting to visually inspect the surface for any missed areas or inconsistencies.
- Dust Management:
- If your dust collection system isn't capturing all the dust, stop periodically to clean the work area.
- This prevents loose particles from scratching the surface as you continue sanding.
Advanced Tips for a Flawless Finish
To take your sanding results to the next level, consider these advanced techniques:
- Cross-Grain Sanding:
- For stubborn imperfections in wood, try sanding at a 45-degree angle to the grain, then follow up by sanding with the grain using a finer grit.
- Sanding Sequences:
- Don't skip grits. Move through them progressively for the smoothest finish.
- A typical sequence might be 80 grit, 120 grit, 180 grit, then 220 grit.
- Raised Grain Technique:
- After initial sanding, lightly dampen the wood surface with water to raise the grain.
- Once dry, sand lightly with fine-grit paper for an ultra-smooth finish.
- Sanding Sealer:
- Apply a sanding sealer after initial sanding but before final sanding for an even smoother finish on porous wood.
- Contour Sanding:
- For complex shapes, consider using flexible sanding pads or sponges in conjunction with your Shinano SI-3101M for hard-to-reach areas.
- Speed Control:
- While the SI-3101M doesn't have variable speed control, you can modulate the air pressure slightly at the compressor to adjust the sander's aggressiveness for different tasks.
Maintenance and Care
To keep your Shinano SI-3101M performing at its best, follow these maintenance tips:
- Clean After Each Use:
- Compressed air blows out dust from the tool's body and moving parts.
- Wipe down the exterior with a clean, dry cloth.
- Lubrication:
- Add a few drops of air tool oil to the air inlet before each use.
- This keeps the internal components lubricated and protected from moisture.
- Air System Maintenance:
- Regularly drain your air compressor to prevent moisture buildup.
- Use an in-line air filter to keep contaminants out of your tool.
- Inspect Regularly:
- Check the pad for wear and replace it when necessary.
- Inspect the air hose and fittings for any signs of wear or damage.
- Storage:
- Store your sander in a clean, dry place to prevent rust and damage.
- Consider using a tool case or bag for added protection.
Troubleshooting Common Issues
Even with proper use and maintenance, you might need some help with some issues. Here are some common problems and their solutions:
- Sander Not Starting:
- Check air supply and connections.
- Ensure the air pressure is set correctly.
- Inspect for any blockages in the air inlet.
- Uneven Sanding:
- Check the sanding pad for wear or damage.
- Ensure you're using the correct sanding technique and pressure.
- Verify that the sandpaper is attached correctly and centered on the pad.
- Excessive Vibration:
- Check for a damaged or unbalanced pad.
- Ensure the sandpaper is attached correctly and not torn.
- Inspect for any loose parts or connections.
- Poor Dust Collection:
- Check for clogs in the dust port or vacuum hose.
- Ensure the dust collection system is connected correctly and functioning.
- Consider using a more powerful vacuum system if needed.
Related Articles
Tips for Troubleshooting Common Pneumatic Tool Problems
How to Repair Common Air Compressor Issues: A DIY
5 Reasons Why the Shinano SI-3101M Air Palm Sander Should Be Your Top Choice
In-Depth Review of the Shinano SI-3101M Air Palm Sander-Made in Japan
How to Use the Shinano SI-3101M Air Palm Sander for a Flawless Finish
The Ultimate Guide to Woodworking Finishes
Conclusion
Mastering the Shinano SI-3101M Air Palm Sander can significantly elevate the quality of your finishing work. By following these setup, technique, and maintenance guidelines, you'll be well on your way to achieving professional-grade results on all your projects. Remember, practice makes perfect – the more you use your SI-3101M, the better you'll become at harnessing its full potential for flawless finishes.
FAQs
Q: How often should I replace the sanding pad on my Shinano SI-3101M?
A: The frequency of pad replacement depends on usage. Inspect the pad regularly for signs of wear, such as tearing, unevenness, or loss of hook-and-loop effectiveness. As a general rule, replace the pad when you notice decreased sanding performance or uneven wear patterns.
Q: Can I use the Shinano SI-3101M for wet sanding?
A: The SI-3101M is primarily designed for dry sanding. Wet sanding with an air tool can damage the internal components. If you need to do wet sanding, using tools specifically designed for that purpose is best.
Q: What should I do if my sander loses power during use?
A: First, check your air compressor to maintain the proper pressure and volume. If the compressor is functioning correctly, inspect the air hose for kinks or leaks. Also, check the tool's air inlet for any blockages. If the problem persists, the tool may require professional servicing.
Q: Is it normal for the Shinano SI-3101M to get warm during extended use?
A: Some warmth is average during operation, but the tool should not become hot to the touch. If you notice excessive heat, stop using the tool and allow it to cool. This could indicate over-use or a potential internal issue. Always follow the manufacturer's recommendations for duty cycle and rest periods.
Q: Can I use the Shinano SI-3101M for polishing and sanding?
A: While the SI-3101M is primarily designed for sanding, it can be used with the appropriate polishing pad and compounds for light polishing tasks. However, using a tool specifically designed for polishing for best results is often better, especially for delicate finishes.


