
Best Tools for Removing Stripped or Stuck Oil Drain Plugs

Last verified: July 30, 2026
Author: TendIndustrial Support Team
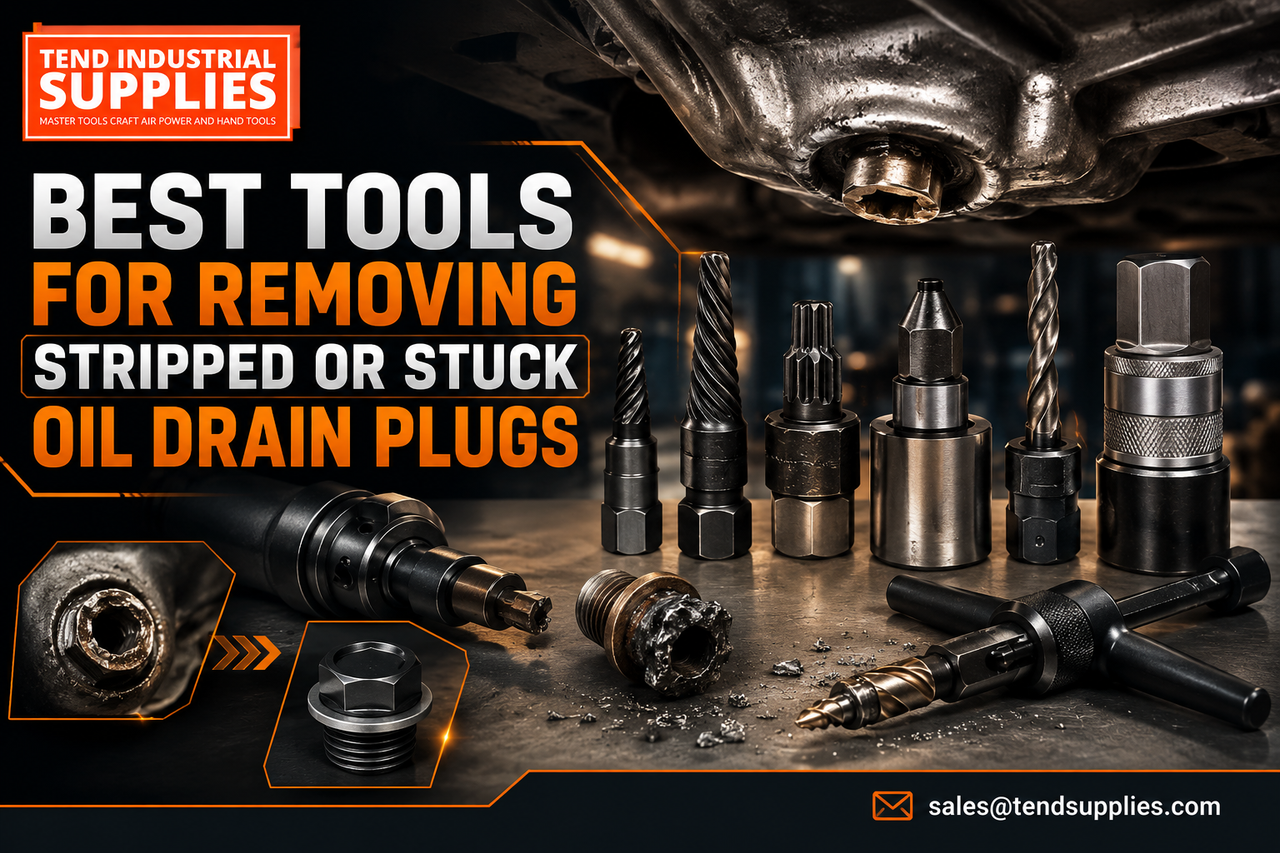
Quick answer: Start with a clean, exact size six point socket and a controlled breaker bar. If the head is rounded, move to a spiral extraction socket. Use heat only when it is safe for the pan material and surrounding components. Stop before damaging the oil pan, because a simple plug removal can become a pan replacement.
Need the correct tool? Send the vehicle, plug head size, oil pan material and a clear photograph to Tend Industrial Supplies.
Choose the Tool by the Failure Mode
| Problem | First tool | Next step |
|---|---|---|
| Plug tight but head undamaged | Exact size six point socket | Breaker bar with steady force |
| Rounded external hex | Spiral extractor socket | Replace the plug after removal |
| Recessed internal hex damaged | Internal hex extractor or driven Torx bit | Use only with controlled fit |
| Threads spin without releasing | Outward tension plus low speed turning | Prepare for thread repair |
| Plug seized by corrosion or sealant | Penetrant, correct socket, controlled heat | Assess pan material before heating |
Essential Removal Tools
Six Point Socket
A six point socket contacts more of the flat surfaces than a twelve point socket and reduces the chance of rounding. Clean the plug head first, seat the socket fully and verify whether the vehicle uses metric or SAE sizing.
Breaker Bar
A breaker bar provides controlled leverage without the hammering action of an impact wrench. Keep the socket square to the plug and apply steady pressure. A long handle is not permission to use unlimited force; aluminum pans and hollow plugs can fail.
Spiral Extraction Socket
Extraction sockets have internal flutes that bite into a rounded external head. Choose the smallest extractor that can be driven on securely. Plan to discard the damaged plug after removal because the extractor will mark it further.
Penetrating Oil
Penetrant can help when rust or contamination is present around an exposed plug. It is less effective against damaged internal threads or excessive thread sealant. Allow reasonable dwell time and keep the area clean enough to maintain socket grip.
Controlled Heat
Heat can expand the surrounding metal and soften some sealants, but it adds fire and component damage risk. Identify whether the pan is steel, aluminum or composite. Never use open flame near oil residue, fuel, wiring, plastic or underbody coatings.
Impact Wrench
An impact wrench can break corrosion on a robust steel assembly, but it can also round the head, crack a pan or tear weak threads. Use it only when the plug and pan can tolerate impact and the socket remains fully engaged.
Safe Removal Sequence
- Confirm the vehicle is stable on approved lifting equipment and the oil temperature is safe.
- Clean the plug head and surrounding area.
- Verify the exact socket type and direction of removal.
- Use a six point socket and controlled hand leverage.
- If the head slips, stop and switch to an extractor before more metal is lost.
- Support the socket squarely while loosening.
- Inspect the plug and pan threads after removal.
- Install a new correct plug and sealing washer, then torque to the vehicle specification.
When the Plug Spins but Will Not Come Out
A spinning plug often indicates damaged threads in the pan or on the plug. Gentle outward pressure while turning may help remaining threads engage. Do not pry aggressively against a thin pan. Be prepared for a thread insert, oversize repair plug or pan replacement after inspection.
Repair Options After Removal
New OEM Specification Plug and Washer
This is appropriate when the pan threads are undamaged. Match thread diameter, pitch, length, head type and sealing method.
Thread Chasing
A thread chaser may clean lightly damaged threads. It is not a substitute for restoring missing material. Keep chips out of the pan and inspect sealing surfaces carefully.
Thread Insert
A properly installed insert can restore damaged threads when enough sound material remains. Correct alignment, depth and chip control are critical.
Replacement Oil Pan
Replace the pan when it is cracked, distorted, too thin for a safe repair or previously repaired beyond reliable limits. The least expensive immediate option is not always the lowest risk repair.
Mistakes That Make the Job Worse
Avoid twelve point sockets on tight plugs, adjustable wrenches, pliers, repeated slipping and high impact force on aluminum pans. Do not reinstall a rounded plug. Never guess the torque, thread pitch or washer type. Over tightening is a common reason the next oil change becomes a repair job.
Final Recommendation
Use an exact six point socket first, a spiral extractor for a rounded external head and controlled repair methods if threads are damaged. Work progressively and stop when leverage begins to threaten the pan. Browse automotive tools or contact TendSupplies for help selecting an extractor.
Frequently Asked Questions
Can locking pliers remove a rounded drain plug?
Sometimes, but they can reduce the remaining metal and make extraction harder. A properly sized extractor socket is normally safer.
Should I use an impact wrench?
Only when the pan and plug can tolerate impact. Controlled hand leverage is safer for many aluminum oil pans.
Can I heat an oil drain plug?
Only after checking the pan material and nearby fire risks. Avoid open flame around oil, fuel, plastic, wiring and coatings.
Must a rounded plug be replaced?
Yes. Replace it with the correct thread, length, sealing method and head design.
What if the plug spins freely?
The threads may be damaged. Gentle outward tension may aid removal, but thread repair or pan replacement may be required.
How do I prevent future damage?
Start the plug by hand, use the correct washer and tighten to the vehicle manufacturer’s torque specification.

Newest Guide & products Updates
Shinano 5-Inch Air Grinder Review: M14 vs 5/8-11 Spindle
Tend Industrial Knowledge Center / Product comparisons Looking for the best 5-inch air angle grinde...

Premium Air Impact Wrenches: Shinano vs CP, Dynabrade & Ingersoll Rand
Hero: original AI-generated editorial illustration; pictured tools are not exact product models. A s...

WAALPC AC2000 vs AC3000 vs AC4000: Which FRL System Does Your Workshop Need?
WAALPC AC2000 compact FRL and AC4000 higher-flow FRL. Match body size, port and flow to the comp...

VEVOR Drain Camera Replacement Parts: Cables, Camera Heads, Screens, Skids and Chargers
A complete VEVOR drain-camera system includes model-specific electronic, cable and camera-head com...

Why Industrial Suppliers Are Finally Ditching Spreadsheets for Real Systems
Why Industrial Suppliers Are Finally Ditching Spreadsheets for Real Systems Walk into most tool dist...

The Technical Evolution of Automotive Electronics: Why Professional Dashcam Hardwiring is No Longer Optional
Why Professional Dashcam Hardwiring is No Longer Optional The automotive industry is undergoing a m...